So you have a team and you all want to work together to create a game. That’s great! But how will you collaborate and add your work to a single project? Copy your game onto a USB and pass it to the next person? (Palworld did something like that and it worked for them). Well if you aren’t all sharing an office, that probably won’t work for you. The solution is a source control like Perforce!
Perforce is industry standard for the following reasons:
- Ability to store large files and their revisions (just chuck those fbx files in there)
- File locks keep another person from checking out a file while someone else is working on it (good for binary files such as blueprints which cannot be easily merged with conflicting changes)
- Check out and revise any code file at the same time as a teammate (so you can edit your c++ code at the same time as your teammate)
The following is how I recommend setting up Perforce to use with up to 20 collaborators, with just a small server cost of about $6 per month.
Set up the Digital Ocean server
You can change the name of the server if you want then click Create Droplet. Congrats now you have a perforce server!

- For this tutorial I will be using DigitalOcean to host our Perforce server. Use my referral link to get $200 credit for 60 days or click on the button above for the same link. https://m.do.co/c/a46340e65afe. Sign up for an account. Only one person in your group needs to do this.
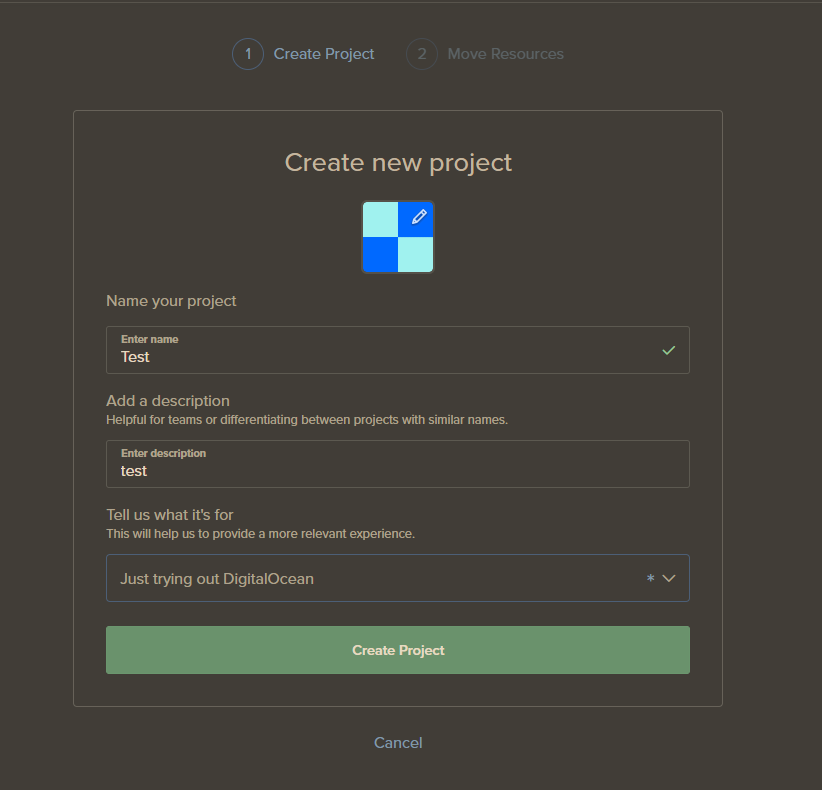
- Create a new project. This is not the server, it’s kind of just a folder where you keep resources on Digital Ocean
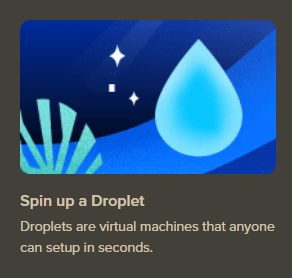
- Spin up a new Droplet for your project. This will be your actual server. Choose to place it in a region that is in the middle of all your team members if you can. But it should still be ok even if it isn’t that close.
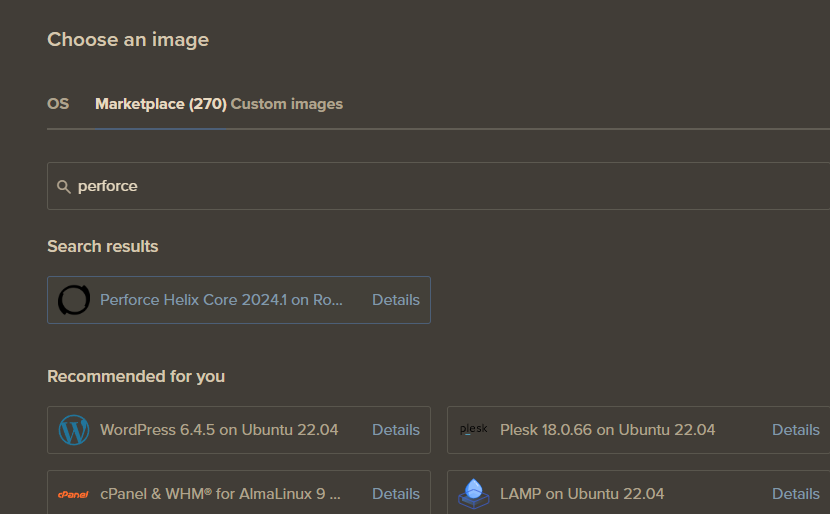
- Under Choose an Image, click on the Marketplace tab and search for Perforce. Choose the Perforce Helix Core. This will load your server with an image that already has Perforce on it so you don’t have to install it yourself.
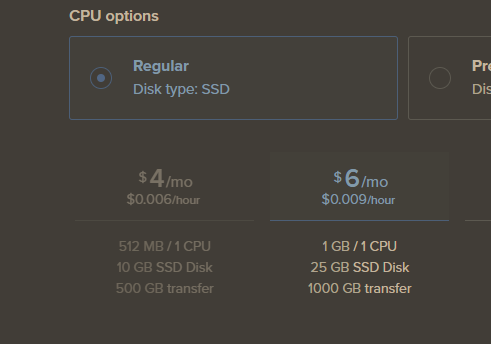
- Then go ahead and select the cheapest monthly option. Since you’re just storing data, you don’t need to pay more for a faster computer you just need to worry about it having enough storage. With a single droplet, you will have 20GB of storage and if you need more you can check out this article (not written yet), on how to expand your storage.
- Next you’ll want to generate an SSH key so that the server will recognize your computer as friendly. Click “New SSH Key” and follow the instructions that pop up.
- You can change the name of the server if you want then click Create Droplet. Congrats now you have a perforce server!
Connect to server using P4Admin and create accounts
- Download Perforce https://www.perforce.com/downloads/helix-visual-client-p4v
- When you install it make sure you install P4V (the visual client that everybody will use to interact with the server) as well as P4Admin (only the person who set up digital ocean server will use to configure the server)
- Now you need to get your perforce admin password from your Digital Ocean server. Open a terminal and ssh in:
ssh [email protected]Replace the fake address (the ones) with your actual droplet ipv4 (You can see this in Digital Ocean). It might ask for your ssh passphrase if you set up ssh, so be sure you remembered that and type it in. - Once you’re in you’ll be greeted with a message like the one below. Type in
cat /root/perforce.passwordto view your admin password. The username for the admin is always “perforce”.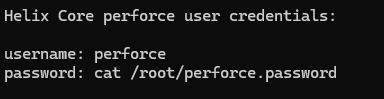
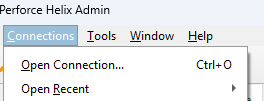
- With your password, you can login to P4Admin now. Open P4Admin and go to Connections -> Open Connection.
- In the pop up, you’ll want to enter in the Server field:
ssl:111.111.111.11:1666. Once again replace the 111.111.111.11 with your real ipv4 that you get from Digital Ocean. And for the user, type “perforce”. Enter your password and your logged in now as the admin!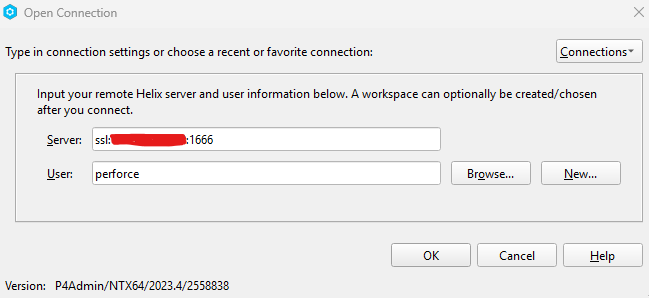
- Next you’ll want to create users for you and your team members (you won’t be using the admin to log in to P4V, only use it for P4Admin). Click create new user to begin.
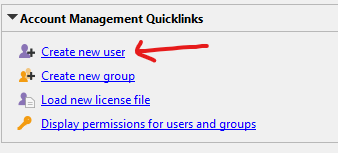
- The new user form is pretty simple, you will be giving them a username and a password (yes you will know everyone’s passwords). You’ll have to tell them their username and password after you create it for them.
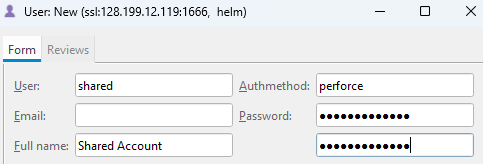
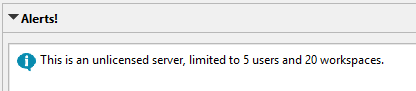
- You may have noticed that there is an alert saying that since you didn’t pay for perforce, you can only have 5 users. Well what if we have more than 5 team members? In that case, you can create a shared account where multiple team members have different workspaces but the same username and password. Since perforce allows up to 20 workspaces, it technically means you can have 20 versions of the project existing on 20 different computers, as long as people are willing to share an account or accounts.
- Once you are done creating accounts it’s time to login to P4V for the first time!
Login to P4V and upload your first change list
- Open P4V and login using the account you created for yourself
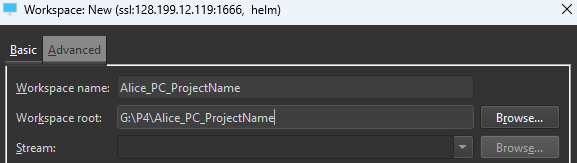
- On your first login it will prompt you to create a new workspace. Go ahead and create one at the most top level directory name as you can, meaning you want to make the path to your workspace as short as possible, so instead of something long like “C:\User\Bobby\ProgramFiles\Perforce\MyWorkspaces\Workspace” it looks like “C:\P4\WorkSpace”. This is to ensure that later on you don’t run into issues of path name exceeding 255 characters errors. For members sharing an account make sure that the workspace names are all unique like “Alice_PC_ProjectName” so that you’ll know who owns what workspace.
- Now that you have an empty workspace, you need to create your project in this workspace if you don’t have an existing project or copy over your existing project into this workspace.
- Once you have all your project files in your workspace folder you can hit refresh and right click the top folder and select
Mark for Add - This will add all your files to a Change List (CL for short). A CL is like a commit in git, it is what users will submit to perforce as updates. You can always roll back to a certain CL or diff against that CL to see what changed. By default it will add your changes to a default change list, but you can always move it to a different CL that you create later.

- Go ahead and Submit this CL to give this data to your server to store in its depot. (You can see what’s in the server’s depot if you click on the tab next to the workspace tab)
- Now you have your project in the server! Tell your teammates to login to P4V and hit
Get Latestso that they can all work on the same project!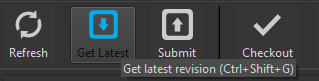
Connecting Visual Studio and Unreal to your Perforce
- You can download P4VS https://www.perforce.com/downloads/helix-plugin-visual-studio-p4vs in order to connect to perforce while using Visual Studios. This will allow you to automatically checkout files when you make changes to them instead of manually have to check them out with P4V.
- In Unreal, click on the Revision Control in the bottom right and a dialogue box will appear. Enter your information and be sure to click on the drop down for available workspaces instead of manually entering your own (although it’s also fine to do that so long as you don’t make any spelling errors).


- Now you should be connected to P4 while using VS or Unreal! Now whenever you make changes you can see what you have checked out in P4V and submit your changes so that others can get them.
- Happy game developing!!
If you have any questions please drop them in the comments below and I’ll try my best to respond. Thanks for reading!